 A few of us did a canyon instruction course over Easter this year with the NZ Canyoning School. Winter shortly settled in and there was no more canyoning for the season.
Once daylight savings had switched over, we got ready with a refresher of anchors, abseiling, rope management, ascending and more at Titahi Bay. Then a week of 20 degree sunshine hit – the weather was perfect for a visit to the No. 1 Canyon in the Tararuas.
We drove up on the Friday and fly camped at the road end. It rates low in my road end camps, being a forestry road with no trees and passing hunters spot-lighting. I’m sure I’ve read somewhere that you can get a key from the Palmerston North City Council to the gate. In theory this would save you about 30 minutes of walking and you could camp at a nicer location…
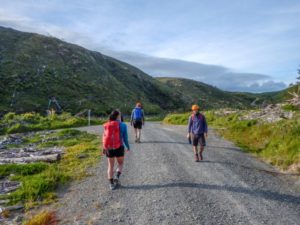
 We were up at 6am and after gear sort, away by 7:30am. The Kiwi Canyons PDF provides excellent directions to the start and a canyon topomap. Just over 2 hours saw us to the drop in point for the canyon. We saved a bit of time navigating the off track section with GPS waypoints and tracks provided by Marie H from a previous trip (comment below and I’ll send along the GPS files).
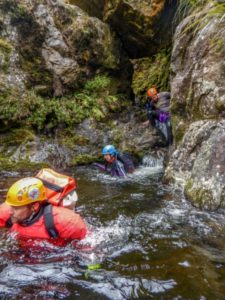
Despite the week of hot weather before, the clouds blocked the sun and a strong cold southerly was about. Worried about the rain clouds lingering above, we opted to skip the side trip to punga hut (a historic hut made of punga logs and not on the map, just a short kilometre from the start of the canyon). We put on our wetsuits before even sitting down for lunch to keep warm. A few of us found our wetsuits a bit thin, but if we kept moving we managed to stay warm enough.
The canyon packs a lot of fun in less than 2 kilometres. There are plenty of opportunities to practice different canyoning skills, 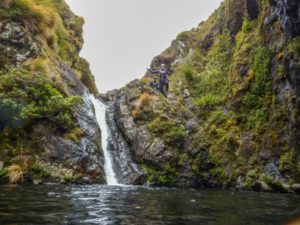 with a bit of progression as you travel down the canyon. It starts off with small jumps and swimmable pools, at one point passing under a giant chockstone (aka – boulder wedged in the canyon). Just as you’re starting to warm-up or cool down as the case may be, you get a nice kick of adrenalin with a 7 metre jump. It didn’t seem particularly easy to downclimb or find an anchor to abseil to check the pool for safe jumping. A meat anchor (or human anchor) might be your best bet.
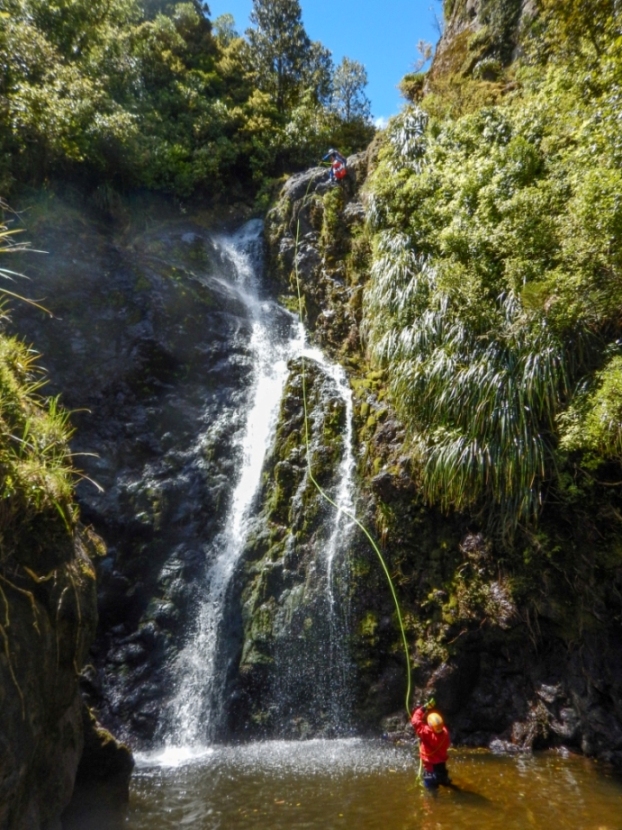
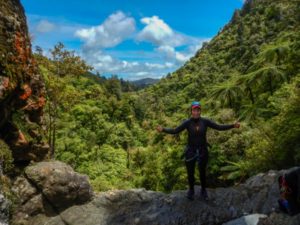 That leads to a series of increasingly bigger abseils with the largest at 26 metres. Finding natural anchors was fairly easy with a mix of trees and boulders. With the lack of rainfall at near record levels in the region this year, we were able to easily downclimb the last 15 metre abseil noted on the canyon guide. It’s worth noting that for both of these last 2 abseils you wouldn’t be able to see the bottom – either how much rope you need or what to expect at the end. It was great validation for setting up releasable abseil systems or easily lowering the first punter.
From there it’s a 45 minute river bash down before you’ll hit the intersection with Burtton’s track which leads you out and back to the carpark. We took about 4.5 hours in the canyon. 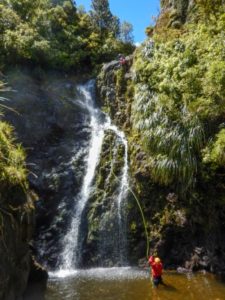 With a few water and snack breaks, a couple more hours to walk out saw us back at the carpark about 5:30pm. It’s a solid 10 hour day constantly on the move which doesn’t leave much room for taking in the scenery. But Fiona’s photos were evidence it was a beautiful area.
Given the range of opportunities for jumping, swimming, scrambling and abseiling, I would happily repeat this canyon many times over.
