Days one and two:
After flying in from Wellington the day before our shuttle arrived early to take us to the James Road end. We knew the weather was going to be a bit iffy today after fervently checking the weather forecast in the lead up to the trip start, but we were glad to see blue sky and some sunshine in Takaka. As we got closer to the road end the clouds rolled in and some flurries of drizzle came and went as we set off on the Boulder Lake track. This was a long day; DOC time estimates 8-10 hours to cover 22 kms. It took us 9.5 hours in total with plenty of rest breaks.
The first 6 kilometres to Lookout Knob is a gradual climb through low bush and farmland. Once in the bush, there are some interesting crevasses to jump that need care especially after rain. Once past the limestone slots, the track continues to climb through beach and manuka up to Beathams Clearing. At this point the drizzle had well and truly set in. However, this did not dampen our spirits, as we climbed up through stunning dracophyllum forest, which was eerily misty and beautiful. The track climbs up to Brown Cow Ridge at around 1,200 metres and to Cow Saddle (where there are usually some great views, but not today). From here, it is a sidle over slightly exposed scree, and down the other side to the lake. Nearing the end of the day, we were all very very wet, quite tired and glad to see the hut on the other side of the lake. We had planned to take a rest day the next day and wait for the rain to pass over which we did. We were glad to have a large hut all to ourselves. Josh and Jana ventured out once the rain had lightened up to visit the 64 metre waterfall and the old dam site: a nice way to spend a couple of hours.
Other side trips – there is a lot to explore here; you could get up on top of some of the larger boulders and if more time allowed, Clark Peak could be climbed with exploration around the lead hills and Lake Clara. There is also mention in the hut book of bush bashing up to Caeser Knob and Colosseum Ridge. We did not do these however so cannot comment on the technical aspects or risks. However, we did notice people in the hut book had mentioned lots of other side trips.
Day three:
Day three dawned bright and sunny as we headed out to Adelaide Tarn Hut. The track crosses Suspicion Creek (that runs off the stunning waterfall at the back of the hut), then heads through some gnarly head high tussock and very dense bog. We quickly headed into the trees on the left which was much easier travel.
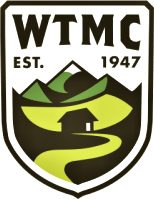
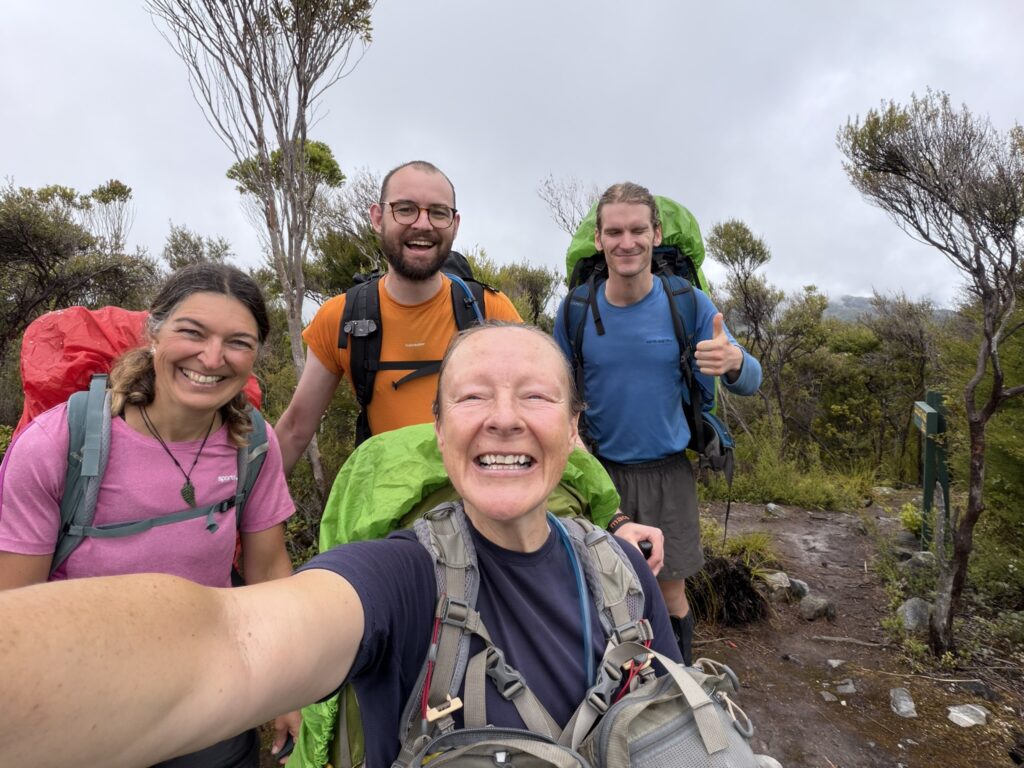
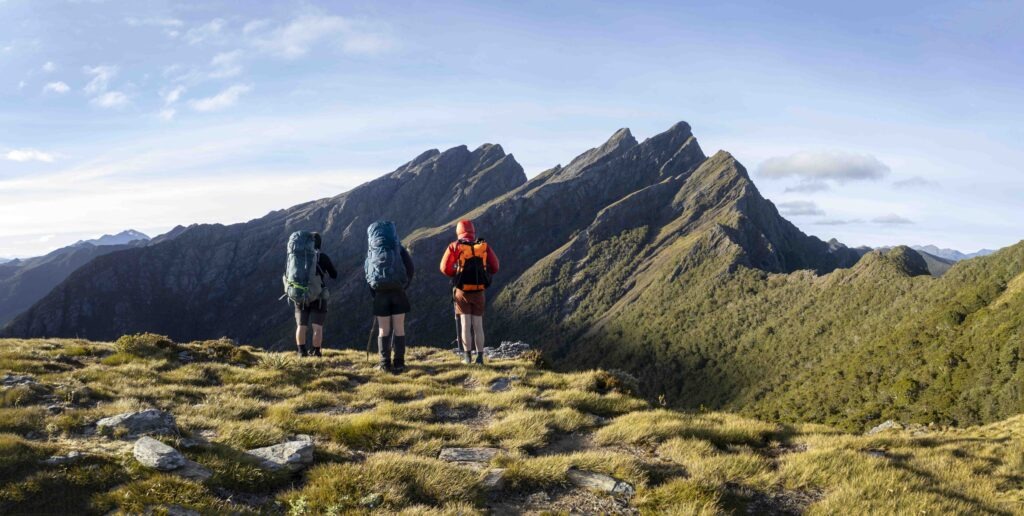
Once climbing the tussock spur to Green Saddle, it was beautiful views all around. There is quite the variety of travel on this part of the trip. There is a couple of kms of sidle through dracophyllum before emerging out onto the ridge top. This is a bit undulating and there are some bluffs and rocky outcrops to negotiate, but nothing too gnarly or exposed and is quite fun. A further sidle under the Needle, brings you up to the Needle’s Eye and a short and easy descent to the stunning Adelaide Tarn. The Hut is tiny (at a push you could probably get 5 in) and there is one camping spot just below the hut. This is a stunning place. There is also quite a lot to explore here. It is a quick jaunt up to Mount Douglas, which provides a good viewing spot of the Dragons Teeth high route. The Needle can also be climbed. If not continuing on to Lonely Lake, there is another track that can take you to Anatoki Forks hut, and out.
Day four:
We started really early on day four knowing it was going to be at least 10 hours to get to Lonely Lake Hut via the low route. This day is long and arduous and requires good navigation. We used the route guide gpx and description to make sure we didn’t miss turn offs down into the Anatoki, and it was fantastic, very easy and clear which made navigation much simpler (I have taken the description from that as it was bang on).
“Follow the cairns up towards Mt Douglas, and continue following these until you descend until you reach a fork in the track between the high route and low route (marked with cairns). Continue following cairns down and make your way into the stream that is marked just below Mt Douglas, that forms the headwaters of the Anatoki River. From here sticking to the true left of this stream is the typical way to go, with the odd brief crossing. We found at about the 1200m contour it was easy to lose the cairns, however the true left travel paid dividends. This section until about the 1000m contour is fairly well marked with cairns, where then lower down the cairns thin out. Stick to the true left and follow the obvious ground trails downstream, you won’t need to enter the main Anatoki River at any point if you follow the trail properly. Just downstream pt. 744 is a good campsite, marked with a frypan on a tree with 744 scratched into it. From here continue downstream until you see the obvious cairns and cross the Anatoki. Sidle below these, following the obvious cairns west, until you meet the high route track. Descend down on the true left of the stream that now forms until you reach Lonely Lake Hut”
Sadly, for me the trip ended on the spur up to the Drunken Sailors. Unfortunately, those dragons were breathing fire and after a small slip my left leg wrenched my arm and dislocated my shoulder. Once I had undergone a very uncomplicated extraction my team carried on to Lonely Lake Hut after a very long and hard day.
Days five and six:
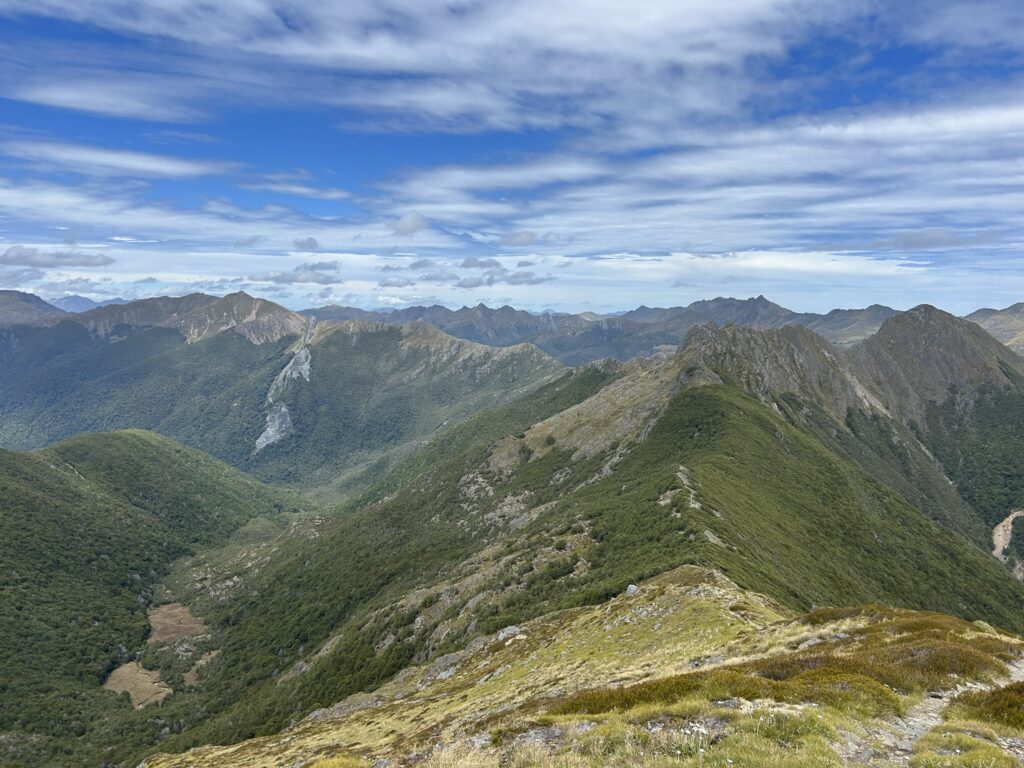
Cairned route from Lonely Lake Hut to Fenella Hut is fairly uncomplicated ridge travel but needs good weather as its almost exclusively out of the bush line. Takes about six-eight hours. There is a scree slope to navigate below Kakapo Peak. From Fenella Hut out to the Cobb Valley it is an easy four-hour walk.