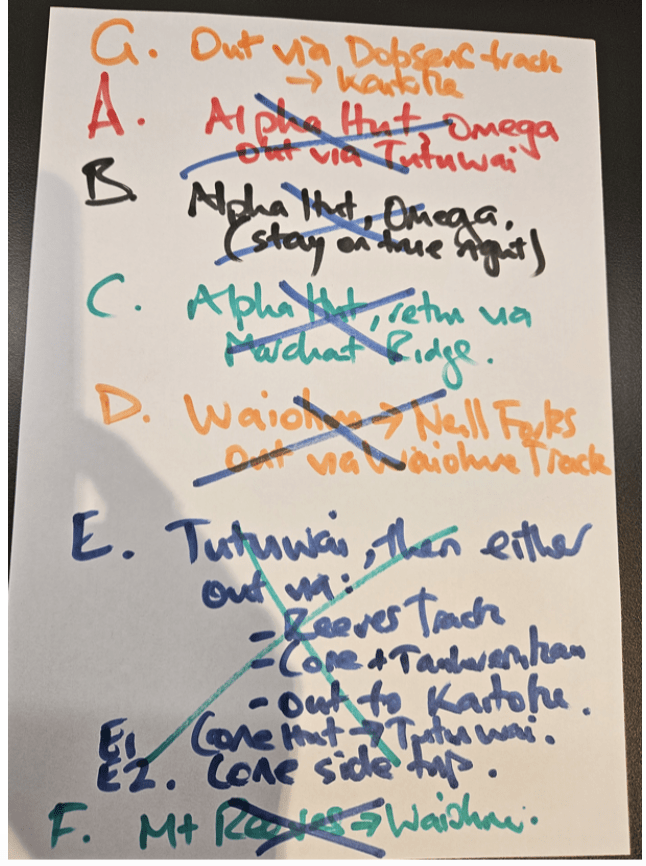
Plan A was an overnight loop to Alpha Hut – starting at Kaitoke road end: taking Marchant Ridge to Alpha Hut and then returning via the Omega Track (with the return involving fording the Tauwharenikau River [formerly called the “Tauherenikau” River] and taking the track on the true left of the River back to the road end). An ambitious but do-able trip for a medium grade group in good weather.
Unfortunately, the weather didn’t co-operate. After steady rain during the week, the level of water in the Tauwharenikau River was too high to cross the river safely.
Predicted heavy rain for the Saturday night ruled out our plan B – which was to return to the road end by descending the Omega Track and taking the un-maintained track on the true right of the River. We also suspected that Boulder Stream would be challenging to cross at a high water flow.
Plan C would have been to do a return trip to Alpha Hut via Marchant Ridge. However, the prospect of spending two days on the ridgeline in high winds was not appealing.
By the time we met at Wellington train station at 7am on the Saturday we were already onto plan D. The medium grade group would drop the easy-medium grade group off at Kaitoke road end, and then proceed to Waiohine Gorge road end and do a loop walk to Neill Forks Hut (via Cone Ridge and then return along the river [via the Waiohine Track]).
We aimed to reach Neill Forks Hut by 4pm in order to beat the scheduled heavy rain. From the Waiohine Gorge road end carpark, I immediately (in error) led us down to the swing bridge (embarrassingly, this was a repeat of what happened during a previous walk I did from Waiohine Gorge road end). After this short detour we got onto the main track, but were already pressed for time.
By the time we reached Cone Hut, in time for lunch, it was clear we weren’t keeping the pace required to make it to Neill Forks Hut by 4 pm. And that if we continued with Plan D, we would be battling a steep descent in the near dark and heavy rain.
Hence, Plan E soon developed. We decided to re-route to Tutuwai Hut for the night and reconsider our day 2 options from there.
At this point the medium group split into two groups: Tracy and Michael would take a direct route to Tutuwai Hut (Plan E1), while Sara and Zaw would leave their packs at Cone Hut and attempt to bag Cone (a feature on the topo map at 1080 elevation) before heading to Tutuwai Hut (Plan E2). So, after lunch and a re-allocation of safety gear, we went our separate ways.
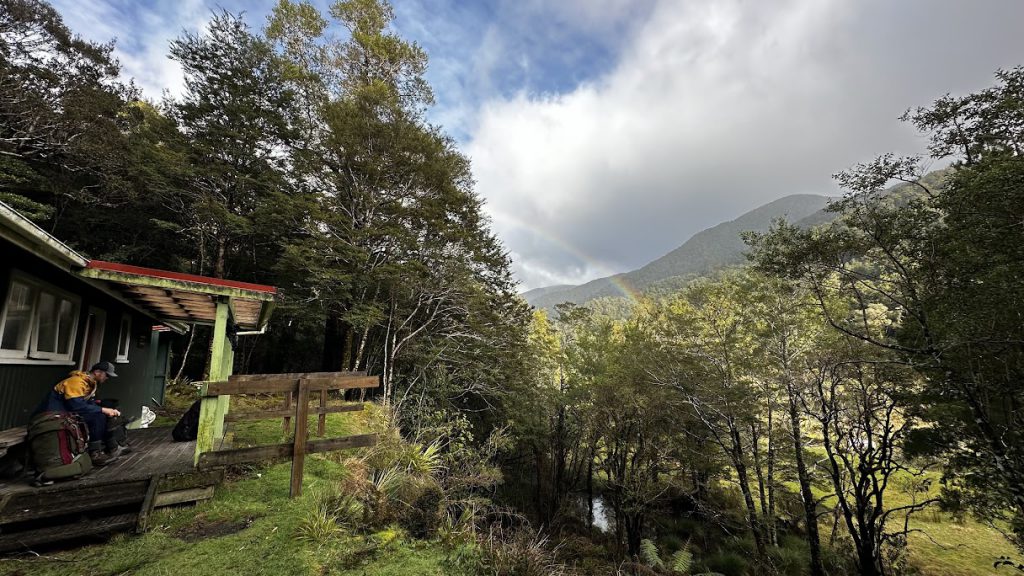
E1 had a fairly relaxed end to day 1 – arriving a Tutuwai Hut at around 2 pm, with time to swim and shuttle some of the air-dropped firewood up to the hut. The easy-medium grade group arrived at Tutuwai Hut at around 4 pm, after their 8-hour trip up from Kaitoke roadend.
The E2 group arrived at the Hut just before the rain started at around 5pm. They had gotten most of the way up to Cone before their planned turnaround time and before clag started to come in.
With plenty of time left in the day, we naturally returned to trip planning. Plan F was to return to the Waiohine road end via Mt Reeves. This plan lasted several hours until we read the notice at the start of the track which stated that the Coal Stream bridge had been removed. Comparing the Coal Stream catchment area with the flow of the much smaller Tutuwai stream, we concluded there was a real prospect of getting stuck within sight of the Waiohine road end carpark, at the Coal Stream crossing.
With the rain intensifying, we finally settled on Plan G: Tracy would join the easy-medium group and return to the Waiohine Gorge road end via Cone Hut. And the remaining members of the medium group would head south to the Kaitoke road end.
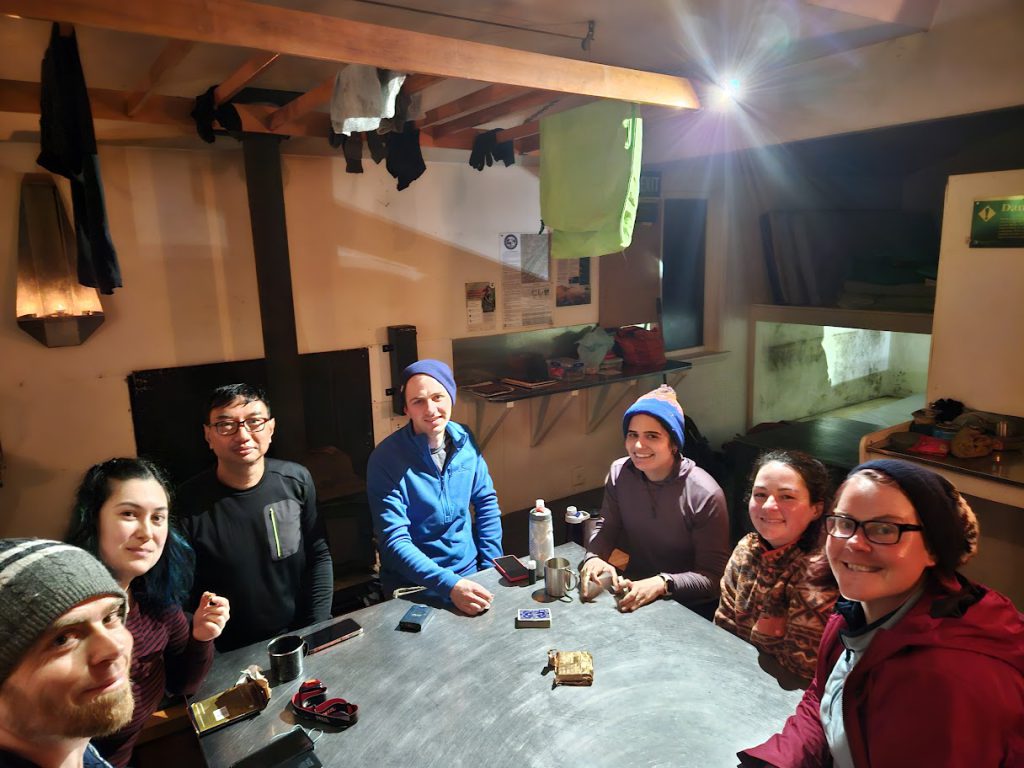
Dinner was a diamond risotto with fresh veggies that Sara had kindly prepared in advance. The rain came in right on cue at around 5pm, and it rained heavily all night with impressive thunder and lightening! We managed a couple of hours of playing cards and retired to bed at around 10 pm. We had the hut largely to ourselves – with a group of teenage boys arriving late and sleeping past our departure.
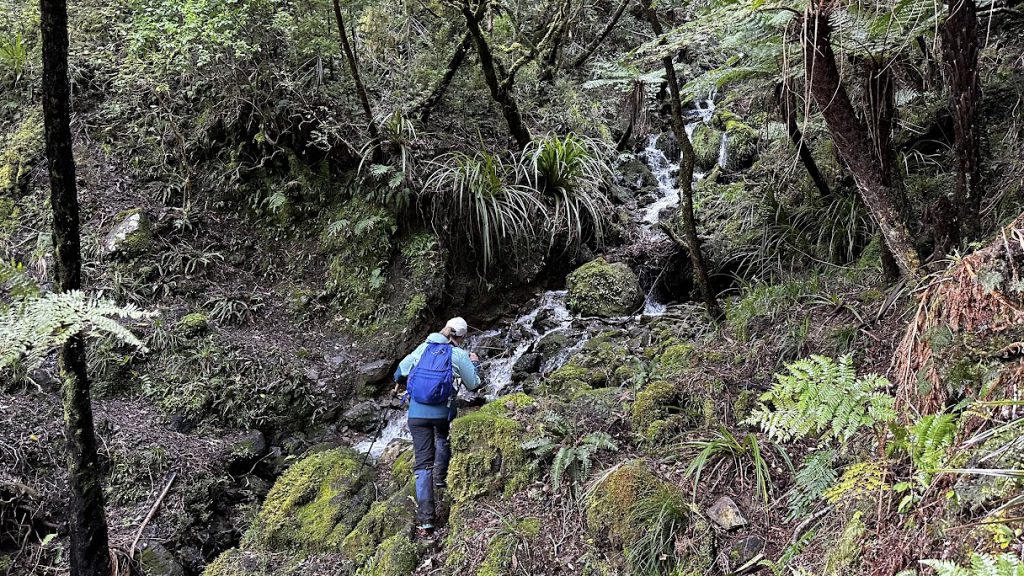
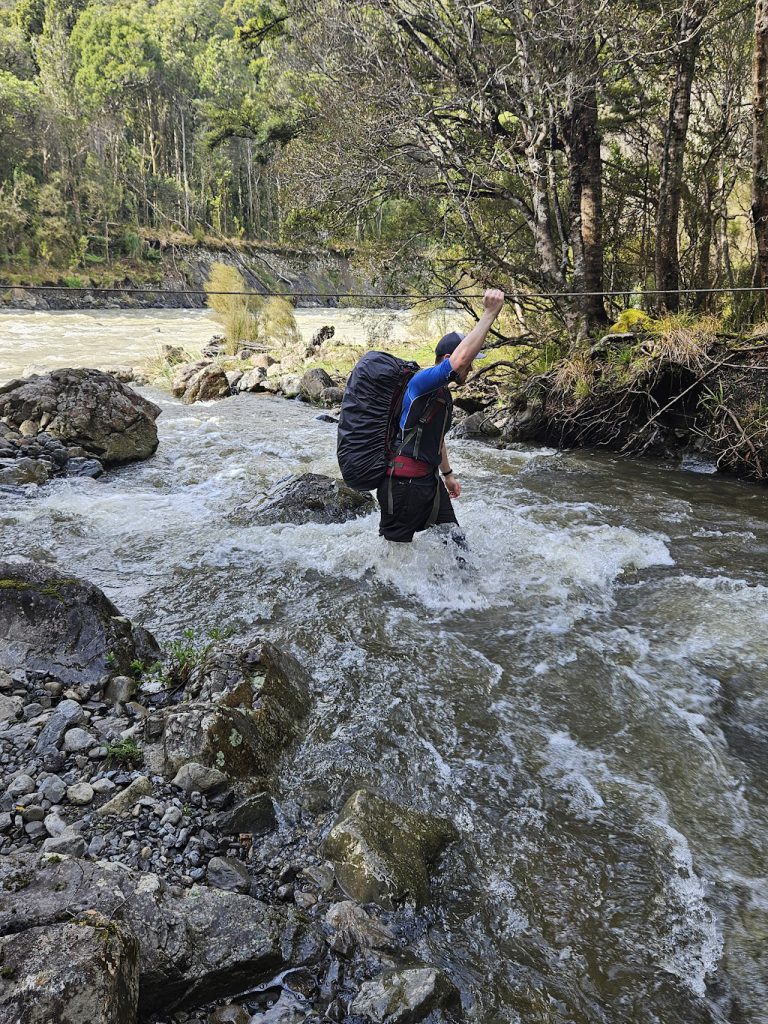
Day 2 involved a relatively relaxed 9 am start, waiting out the last of the rain and hoping for some slightly lower stream crossings on the way out. Rodgers and Fan streams were noted on the hut map as potentially challenging crossings in flood. Rodgers stream proved to be the more treacherous crossing, but it was still fairly easy to manage. There was scope for an easier crossing further downstream where it fanned out through scrub (if the water flow had been higher).
We also had a further Plan H contingency plan – to backtrack and catch up with the easy-medium group – should the stream crossings prove to be too difficult. Although luckily this wasn’t required.
Having committed to wet boots early on in the day, we made good time sloshing straight through the mud, and arrived at Smith Creek shelter after a couple of hours. With time in hand, we took the slightly longer upper Dobsons loop track back to the Kaitoke road end. It was largely uneventful, apart from a few minor slips once we hit the packed clay downhill sections.
We reached the road end at around 2:30 pm and had about 1 1/2 hours to chill out while we waited for the easy-medium group to drive over from the Waiohine Gorge road end to pick us up. All in all a successful [if not-as advertised] first trip with the club.
Day 1 (E1 pair) • Distance: 10.5 km • Climb: 670 m • Descent: 550 m • Time: 2:50 moving, 4:50 elapsed
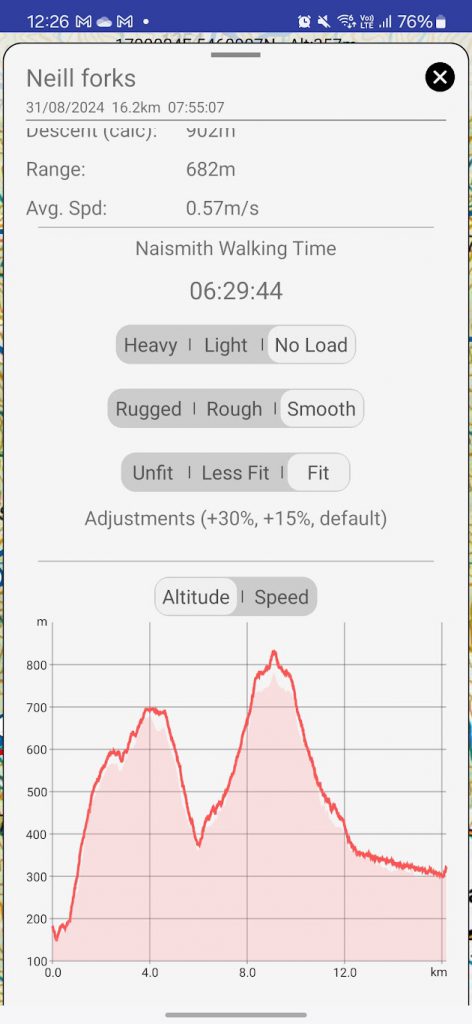
(E2 pair) • Distance: 16.2 km • Climb: 1108 m • Descent: 972 m • Time: 4.45 moving, 7:20 elapsed
Day 2 • Distance: 16.1 km • Climb: 650 m• Descent: 700 m • Time: 4:00 moving, 5:30 elapsed