Date: 16 January 2021.
Trip type: Medium.
Location: Eastern Hutt Hut, Tararua Forest Park.
Author: Captions: Aimee; Photos: Aimee, Tony S and Matt C.
Trampers: Tony S, Matt C, Jamie, Jared, Anne and Aimee.
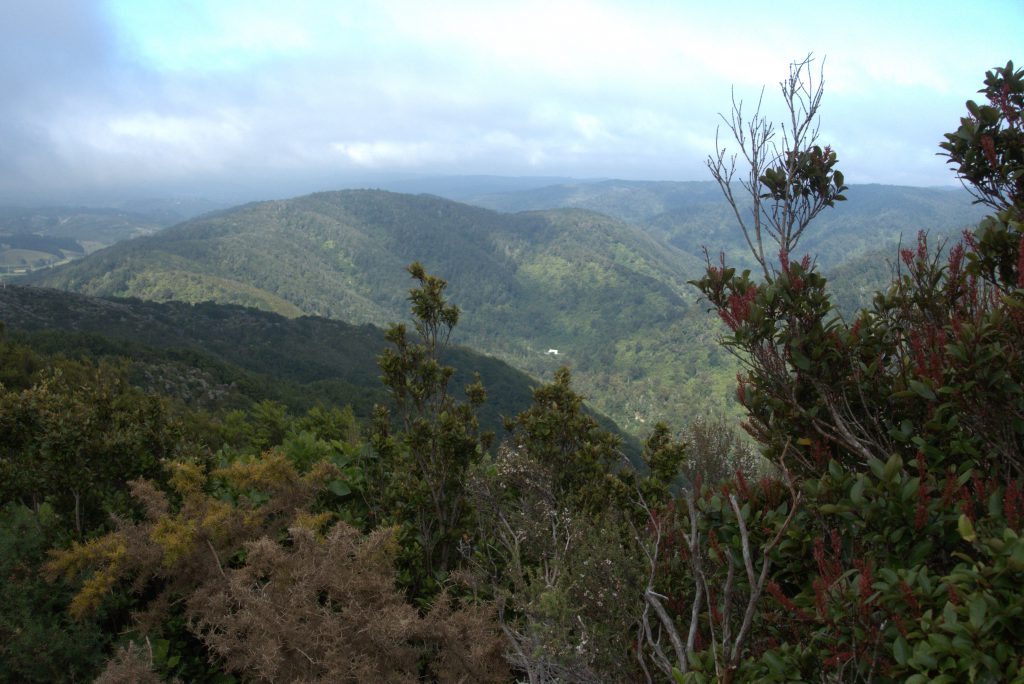
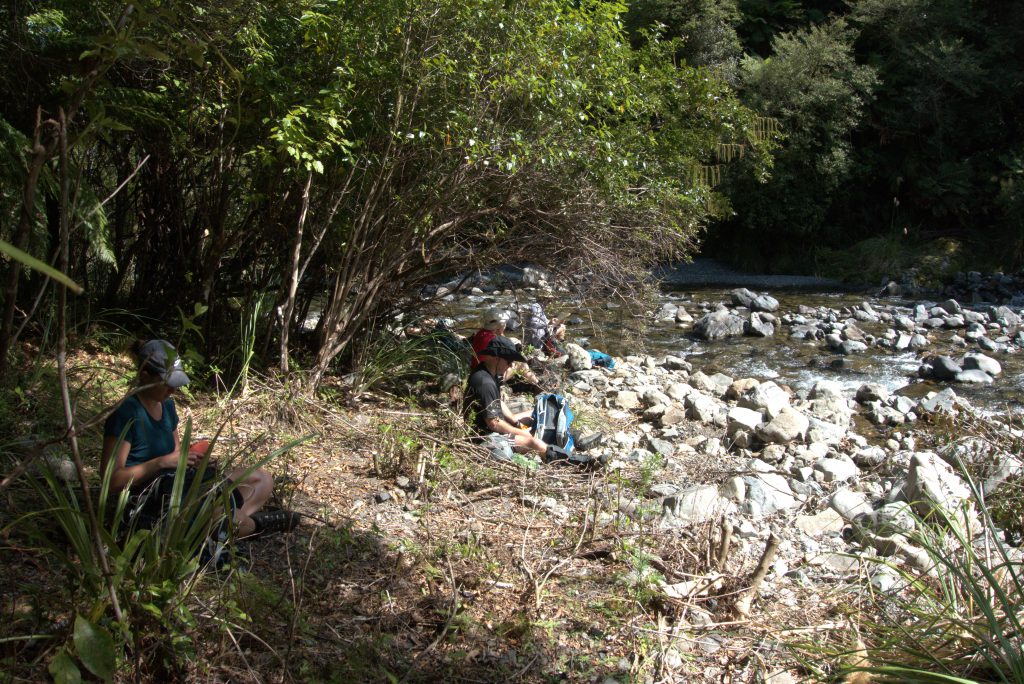
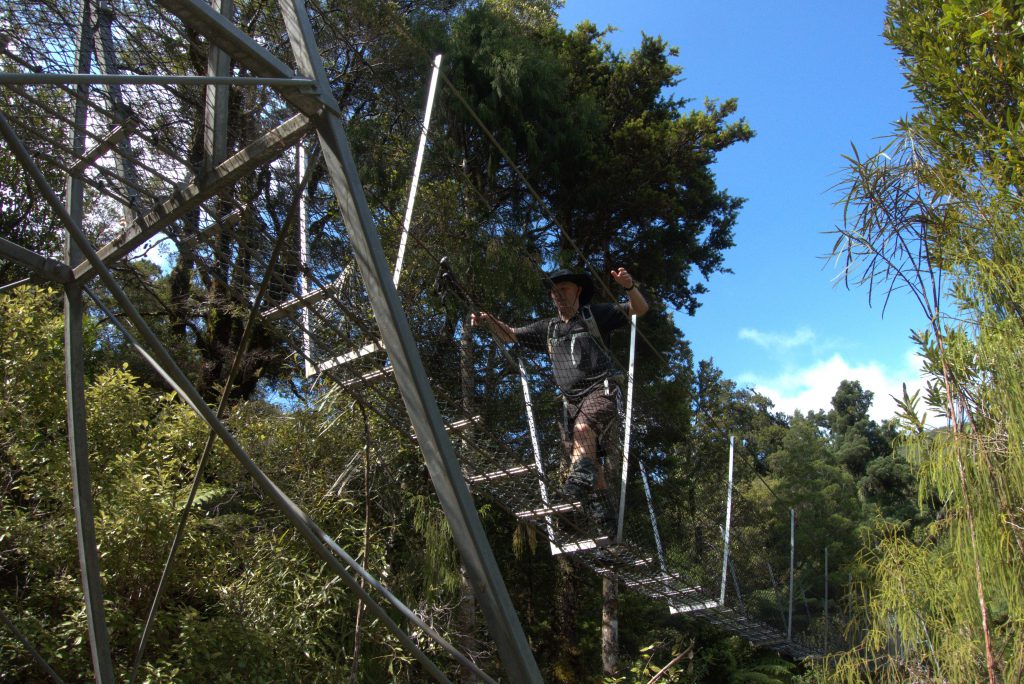
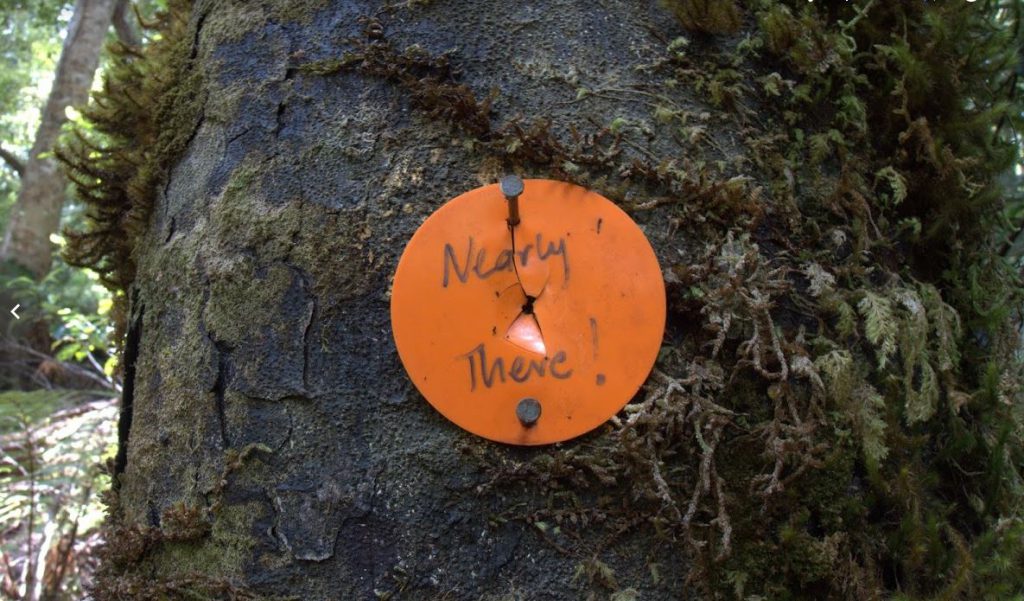
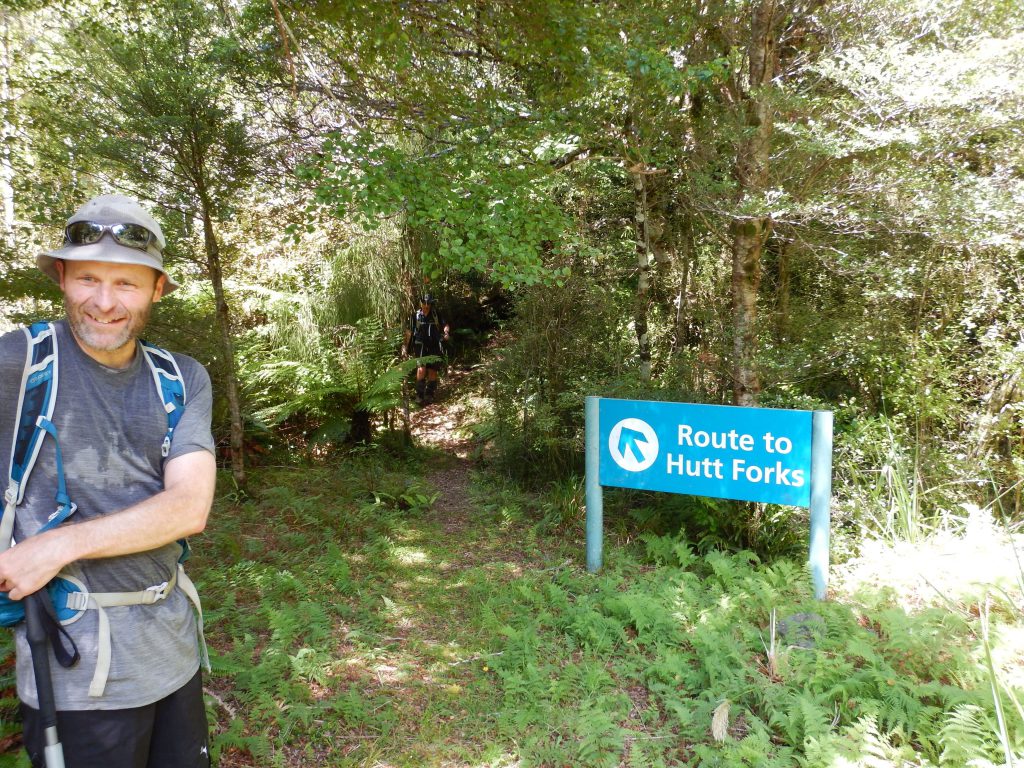
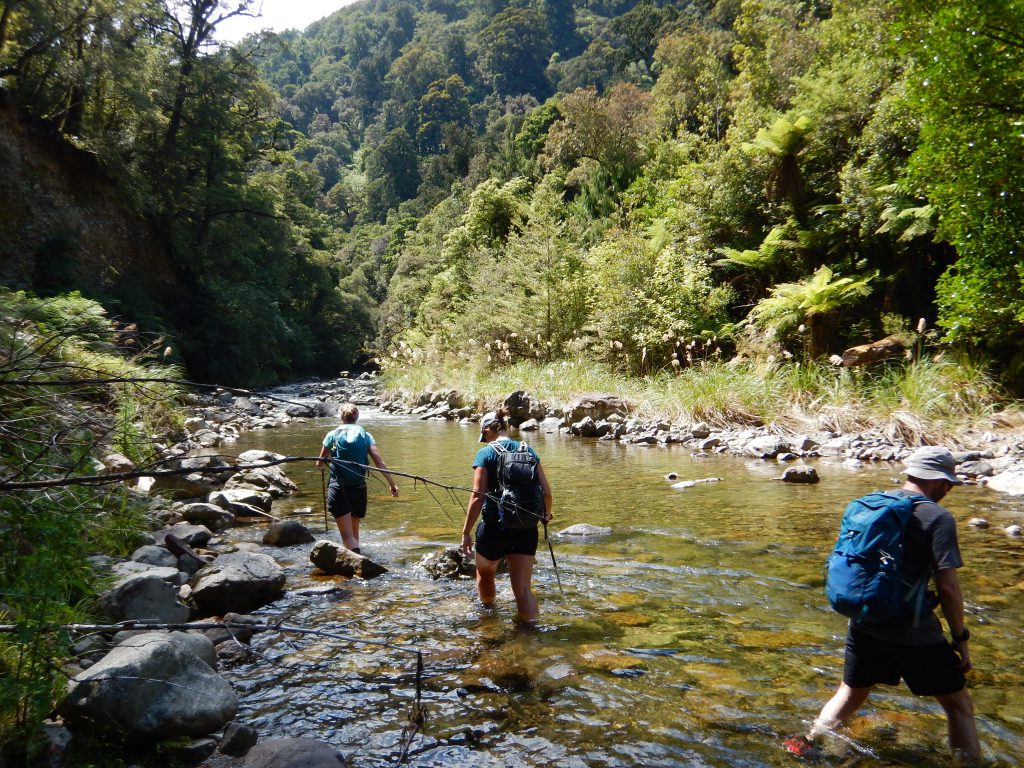
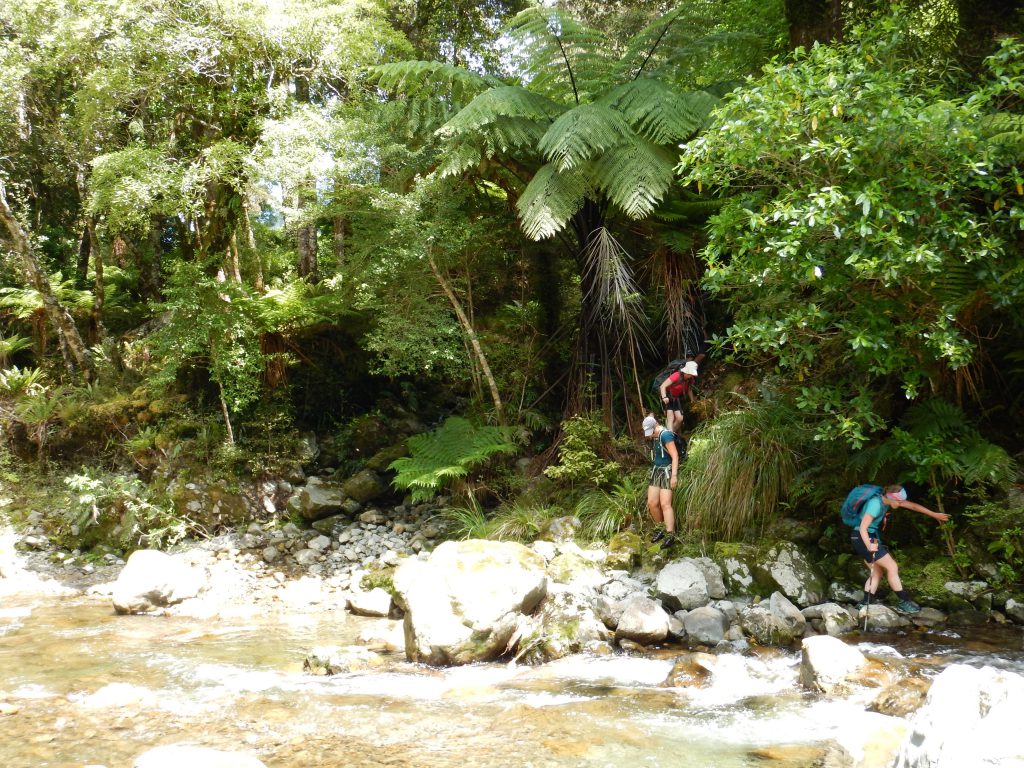
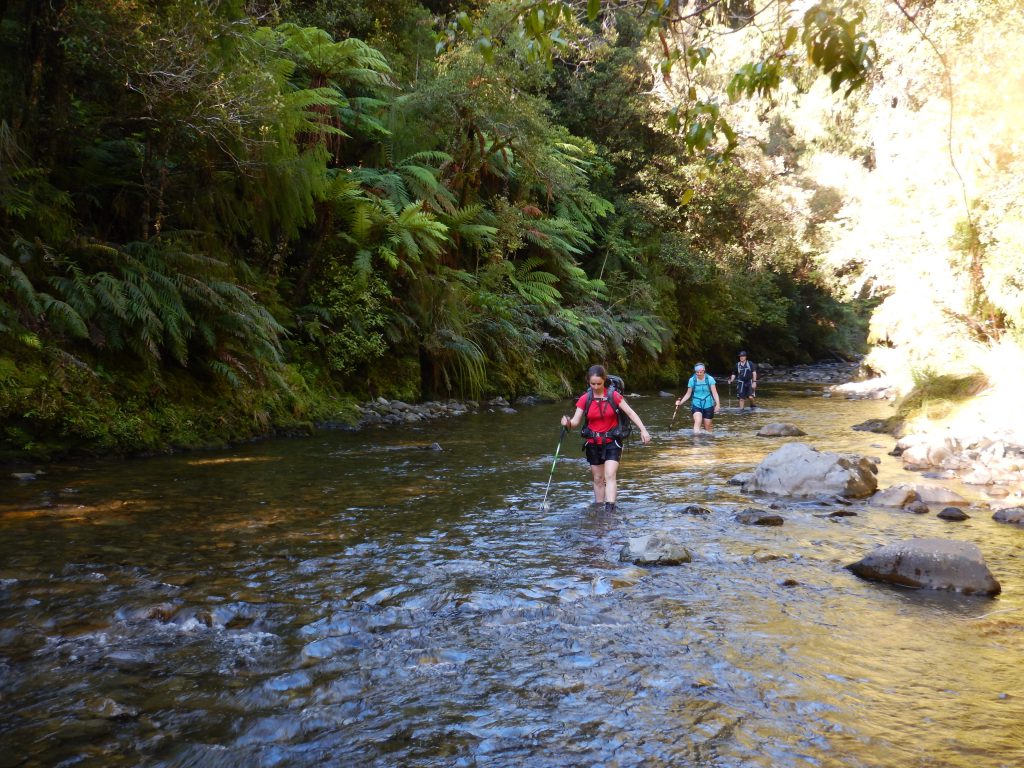
First view from the top of the 4WD track. Photo credit: AimeeMorning tea by the bridge. Photo credit: Aimee.Over the bridge we went, one at a time. Photo credit: Aimee.An encouraging sign to help us get up the second hill. Photo credit: Aimee.Matt is pleased the climbing is over! Photo credit: Tony S.In the river at last! Photo credit: Tony S.Finding some side trails makes the going a bit quicker. Photo credit: Tony S.
Mandatory hut bagging photo. Photo credit: Aimee.
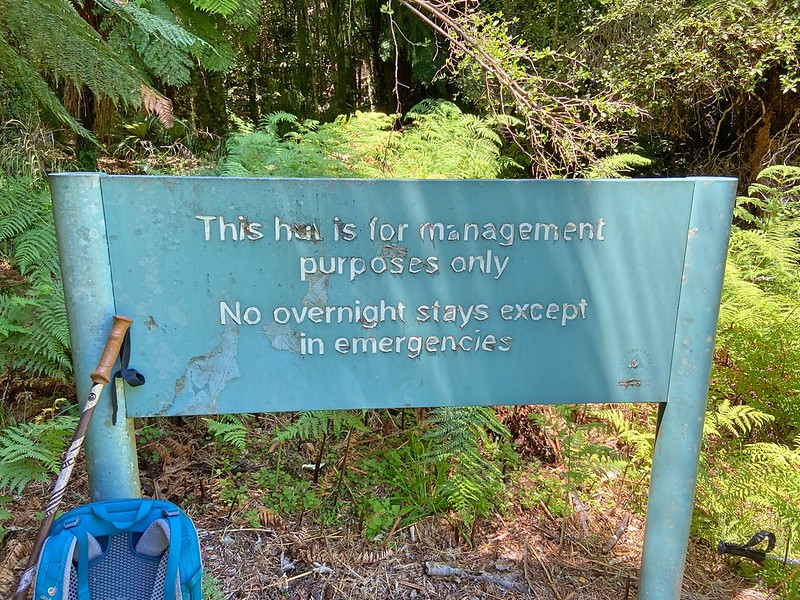
A very big sign telling us not to stay at the hut. Photo credit: Matt.
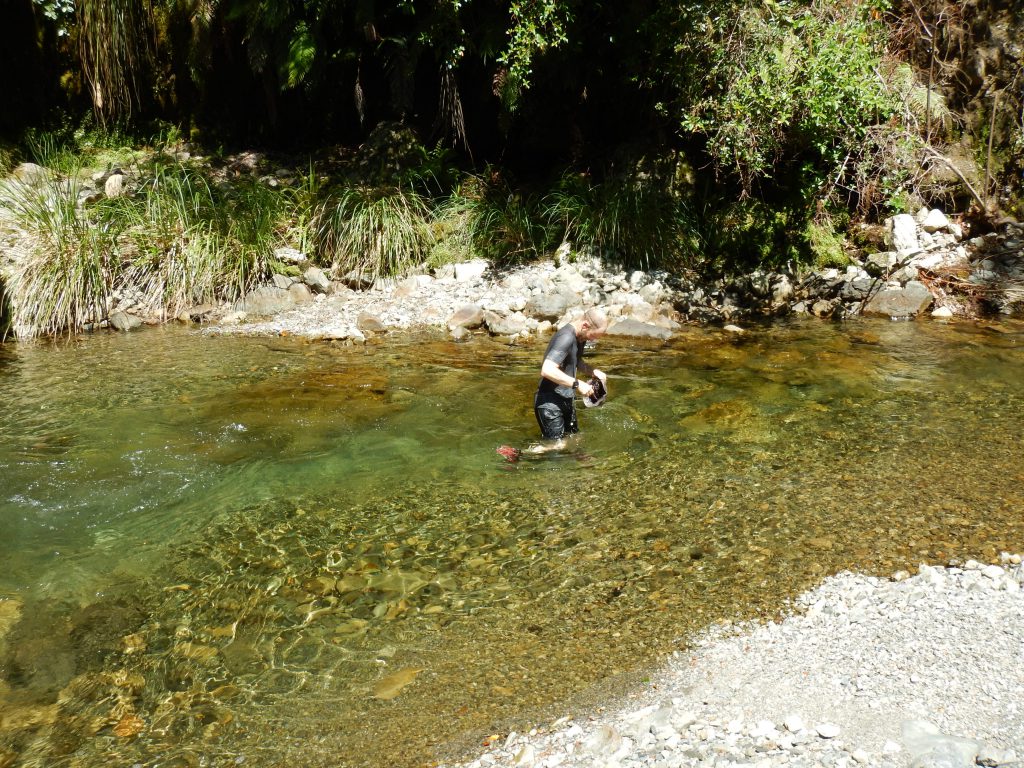
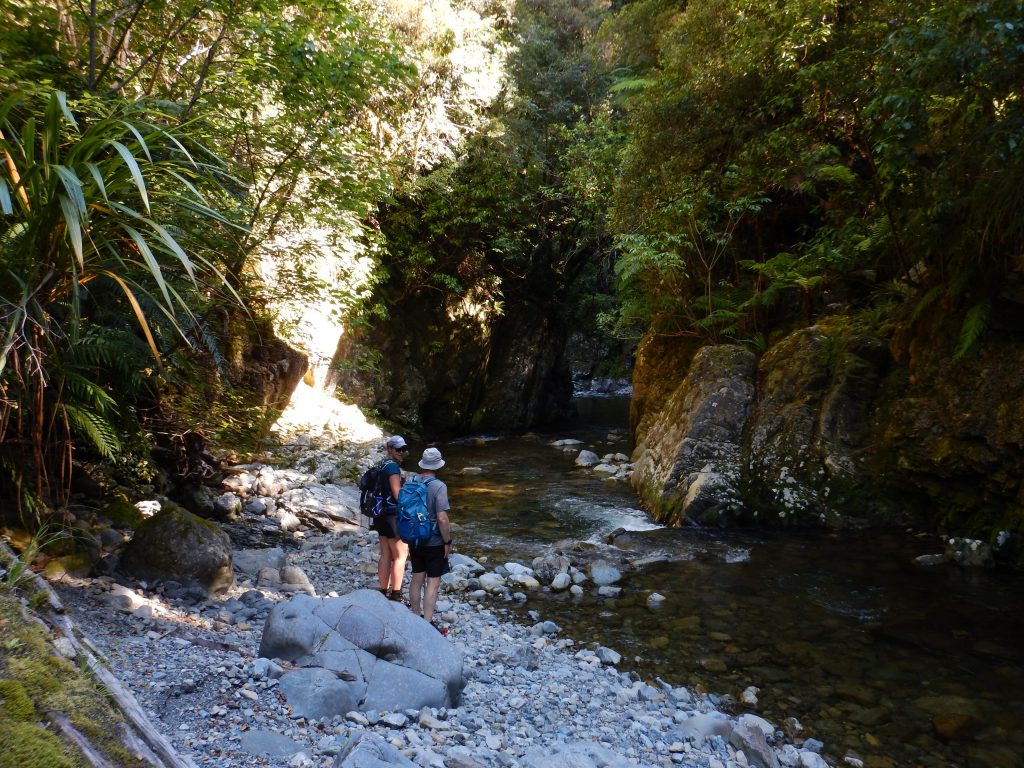
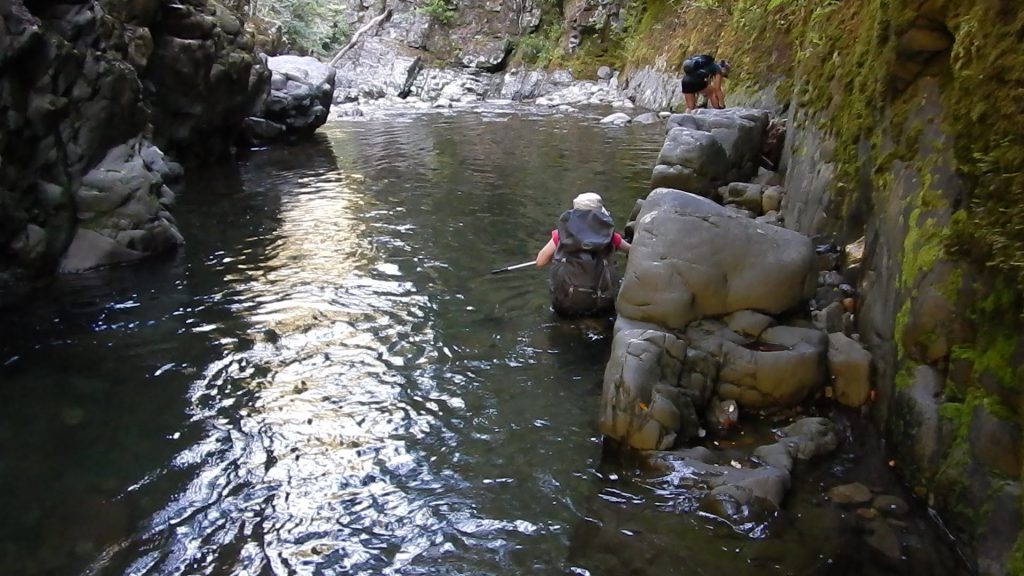
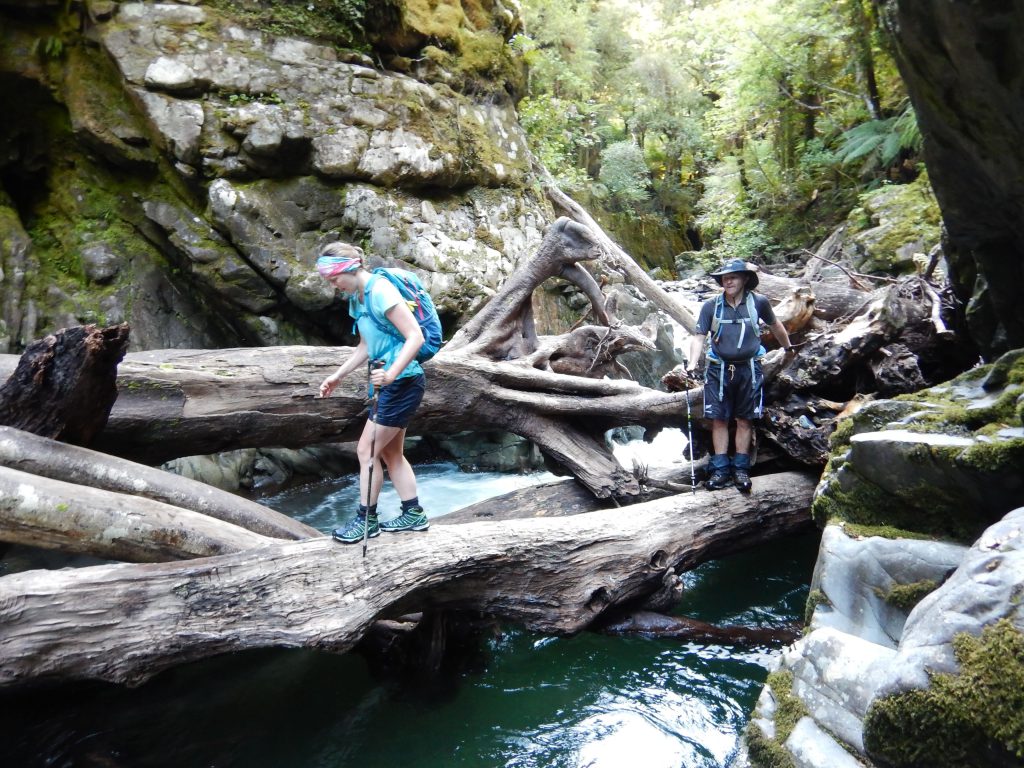
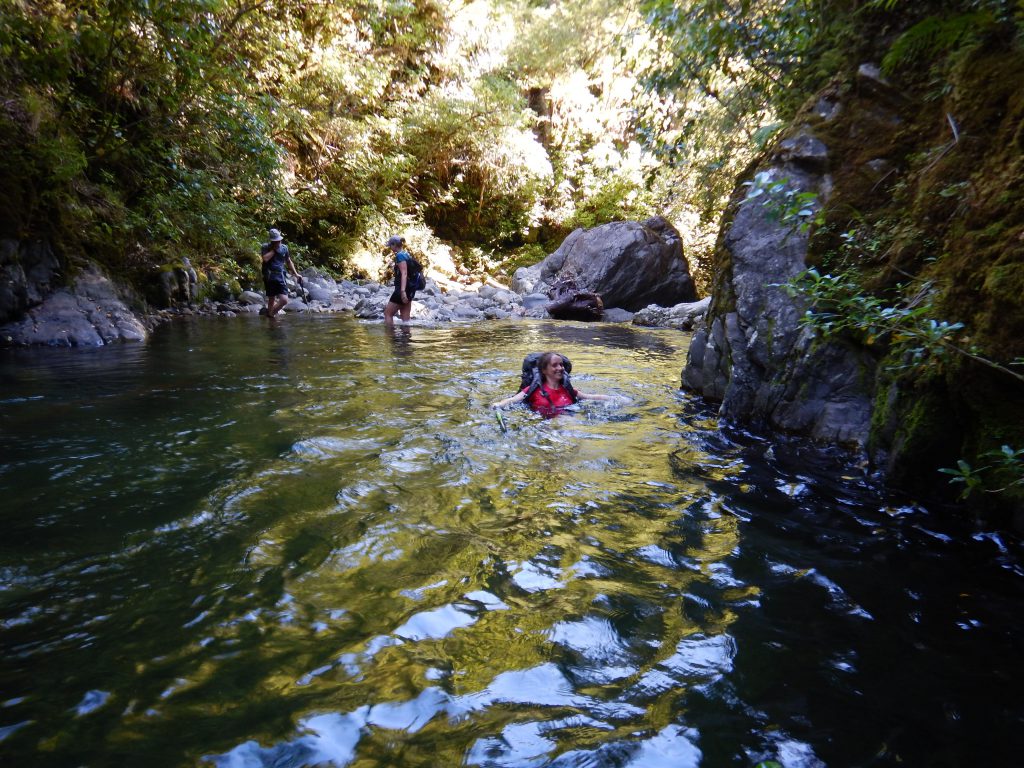
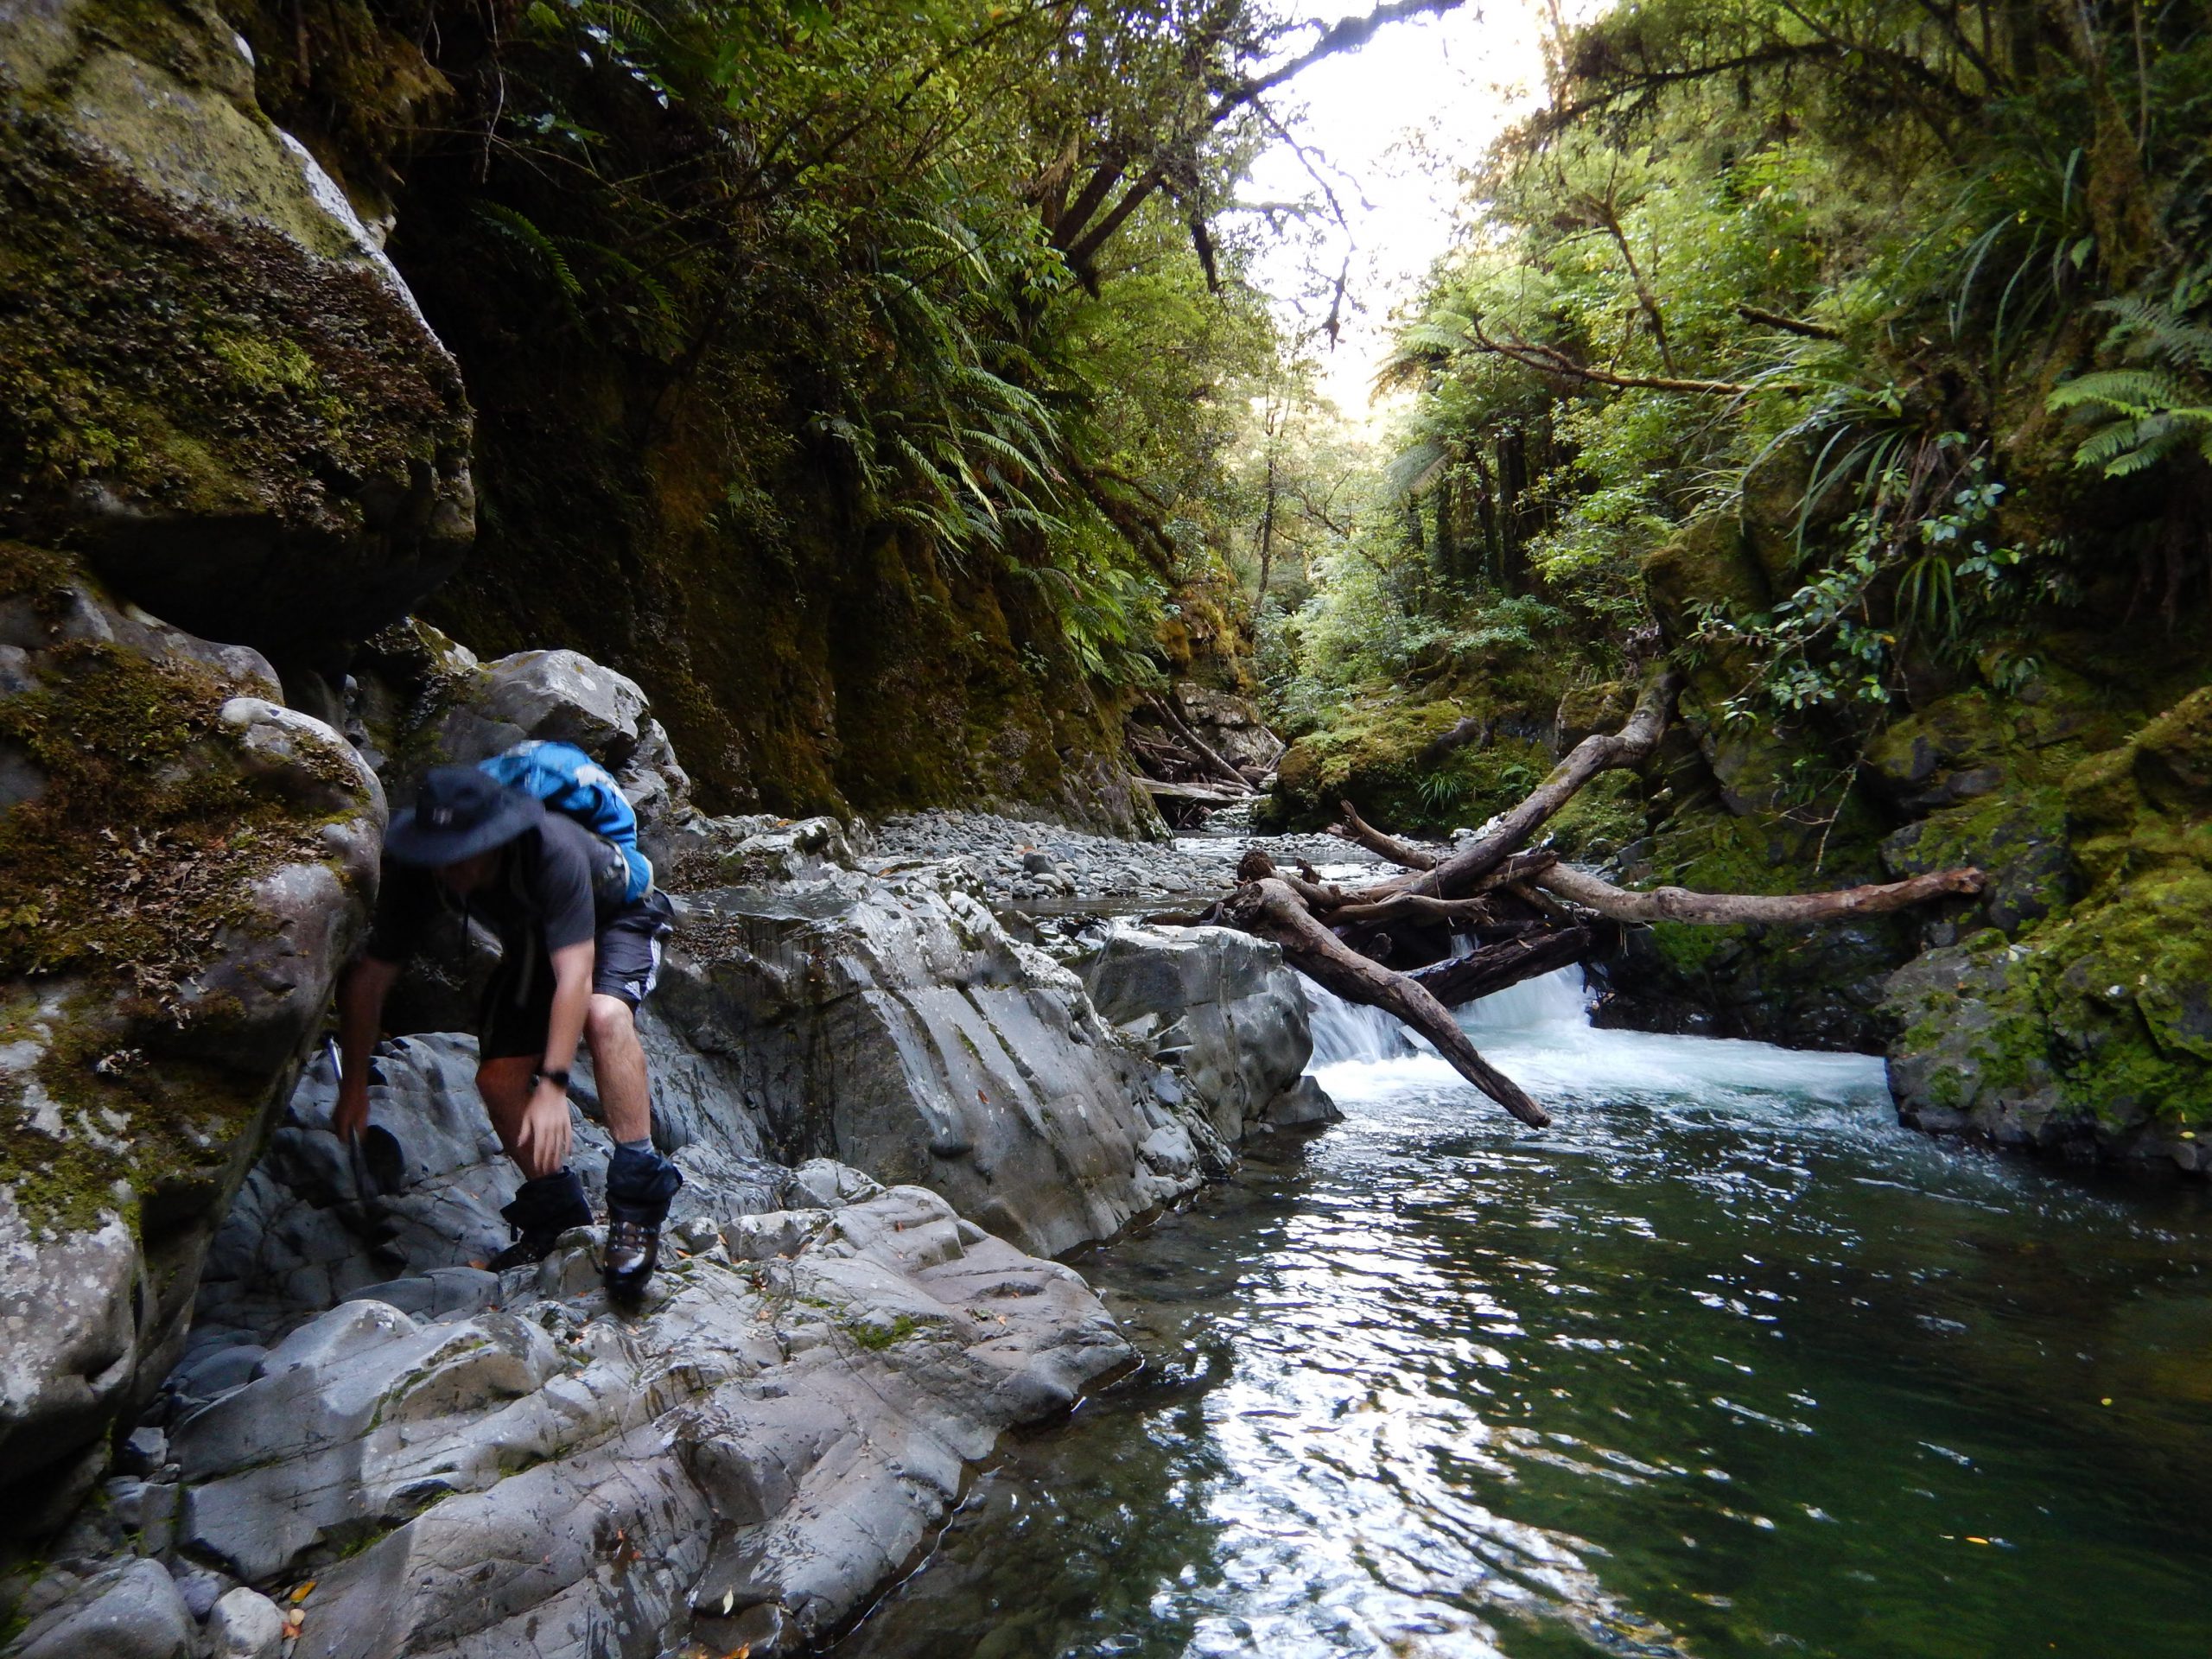
Matt was first in for a swim, and we were all quick to follow! Photo credit: Tony S.Anne and Matt contemplate the beginning of the “gorge”. We avoided the smaller hill on the way out by staying in the river. Photo credit: Tony S.There were lots of deep pools to swim through in the gorge. Lots of fun on a hot summers day, but not a place you would want to be when the river levels are high or it is cold… Photo credit: Tony S.Near the beginning of the gorge there was a log jam, with some conveniently placed logs to balance on. Thanks to Tony S for a helping hand getting over these! Photo credit: Tony S.Jamie demonstrates good packfloating technique! Photo credit: Tony S.Matt did an excellent job of finding a way through the gorge and leading us back out to the bridge. Photo credit: Tony S.